instruction
easter eggs 16/08/2013
materials
-
blown out chicken egg
- polymer clay cane: 10 g
- thread
- toothpick
tools
-
polymer clay knife
- scissors
- egg piercer
- needle
costs
- polymer clay cane 10 g = approx. €0.50
working time
-
1/2 hour
instruction
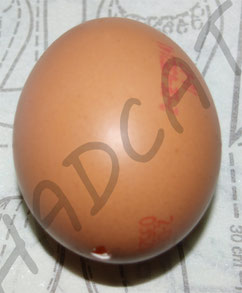
1. Take a chicken egg and poke a hole in the top and bottom of the egg with an egg piercer. Then blow it out. Tip: The bottom hole should be larger than the top hole. You can use a toothpick to scramble the egg through the bottom hole before you start blowing. It will then be easier to blow it out.
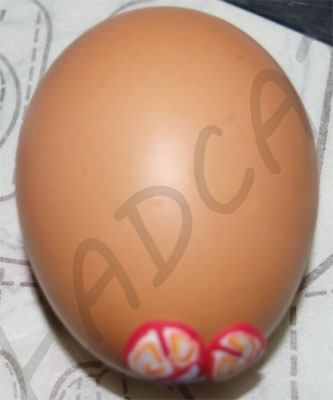
2. Take a polymer clay cane and cut slices of the same thickness. Cover the egg with it. Don't press too hard on one spot, especially the holes. Otherwise the egg will break. I have experienced this myself. I then created a hatching dragon from the broken egg.
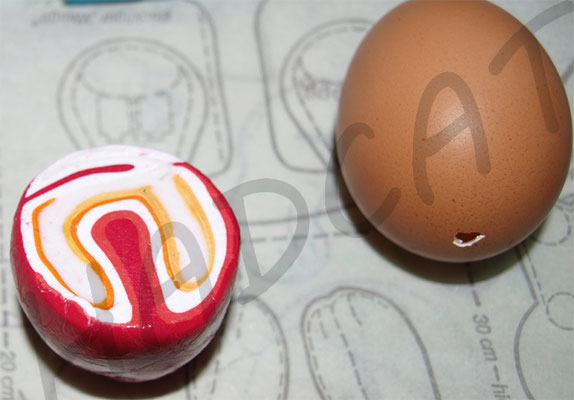
3. This is what the whole thing looks like:
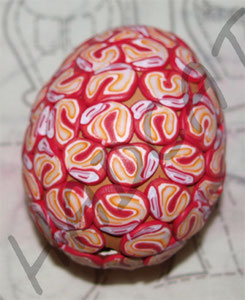
4. Now carefully roll the egg in your hands and/or on the table so that the gaps close and the egg becomes smooth. Keep doing this until you like the result.

5. Poke the bottom hole once with a toothpick and put it in the oven. To avoid dents, you can put it on flour during the baking process.

6. If the top hole is covered by the polymer clay, carefully pierce the hole again with an egg piercer. Now pull a thread through the egg. It is best to start at the top hole. Attach a piece of toothpick to the bottom end so that the thread does not come out again. Finally, you can fixate it with polymer clay varnish.

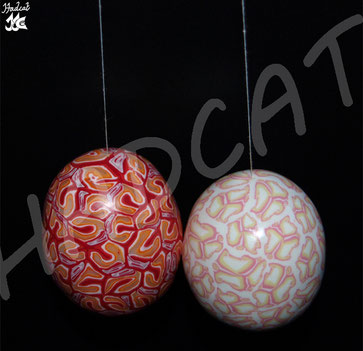
Your easter egg is ready.