
instruction
bracelet with motifs no. 2 21/08/2013

materials
-
polymer clay 20 g: yellow transparent
- polymer clay cane
- motifs from newspapers, trading cards etc.
- two approx. 0.8 mm elastic/rubber band for bracelets
tools
-
pasta machine
- acrylic rod
- two polymer clay knives
-
1 to 2 cm small cookie cutters: rectangle, oval circle
- four 4 mm high chips or coins
- two rulers
- board or tile
- hand drill with approx. 1 mm drill attachment
- nail art dotting brush
- cling film
- sandpaper
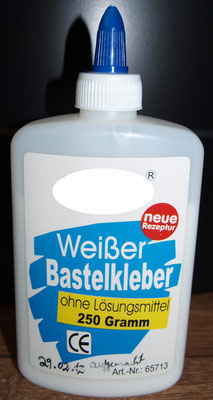
- craft glue
- pencil
- scissors
costs
- polymer clay 20 g = approx. €1.00
working time
-
1 hour
instruction
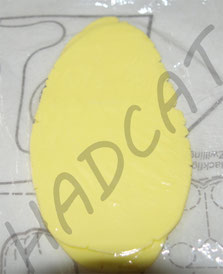
1. First, roll out a plate on the thickest setting of the pasta machine. Fold it in half. Then roll out a plate on the medium level and place it on top of the first plate. Now carefully roll over it with an acrylic stick so that the plates connect better. The polymer clay on top of each other should be about 5mm thick.
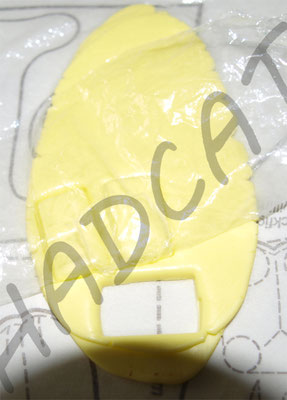
2. Take cling film and place it as evenly as possible on the plate so that the polymer clay does not stick to the cutter when cutting. Take the rectangular cookie cutter. The rectangle is exactly the right size, approx. 1 cm x 2 cm. Use it to cut out rectangles.

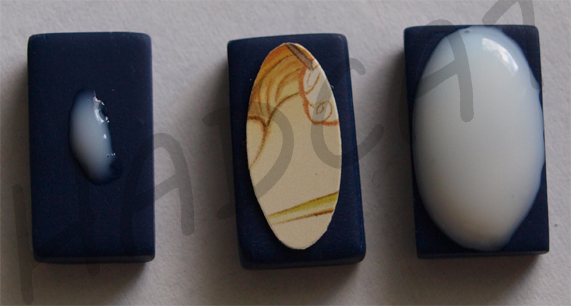
3. This is the result:

4. You can use newspapers etc. for your motif. Simply trace the shape inside with the oval cookie cutter and cut it out.
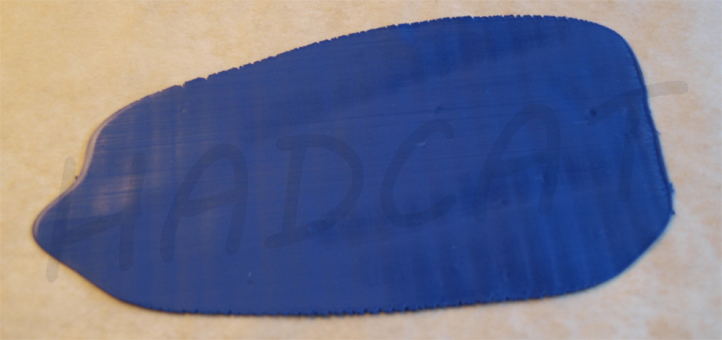
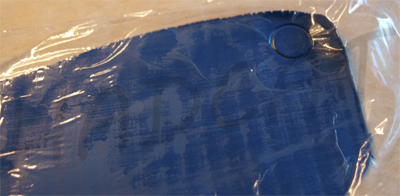
Or you can do what I do and use polymer clay as a motif. Choose a nice polymer clay cane. Cut off slice and run it through on the thinnest setting of the pasta machine. Cover with cling film and cut out with the oval cutter.

5. Now come the intermediate beads. As it is exactly the same as for the bracelet with motifs no. 1, I have the same description here. Of course here you continue with the yellow transparent polymer clay.
6. Roll out a new plate on the thinnest setting of the pasta machine. Put cling film on it.

7. Now cut out twice a many circles as rectangular beads with a round cutter with a diameter of 1 cm. For my bracelet width, there are 11 rectangular beads and 22 circles. Depending on how thick your bracelet is, you will need more or fewer beads or circles.

8. Form small balls and place them on a baking paper with some distance between them. To ensure that all the beads are the same width at the end, place a 4mm high chip or coin at the four corners of the baking paper. Now place a second piece of baking paper over the beads and flatten them with a boards or tile.
9. This is the result:

The size of the clay beads changed a bit. But this is not a problem. From the amount I made I was able to make several bracelets at once. To do this, I simply used the same size beads for on band.
10. Bake everything according to the manufacturer's instructions. If you want to cool the beads quickly, you can rinse them briefly with cold water
after baking. You should wait a little before continuing. Some types of polymer clay may become too fragile, like the transparent type.
11. Next, sand the back of the rectangular beads with sandpaper. That way they won't scratch the skin later.
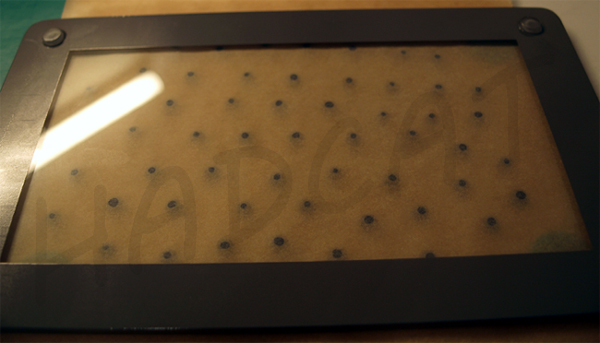
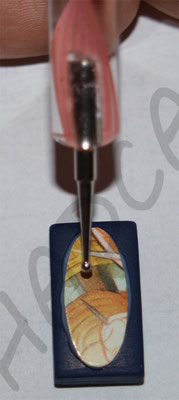
12. Drill holes into the rectangular and round beads with a hand drill. For the round beads, simply drill through the center. For the rectangular beads, mark the holes beforehand. I have measured about 4 mm from the right and left edge.
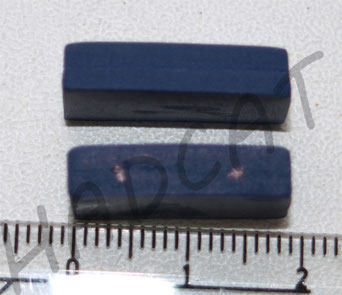
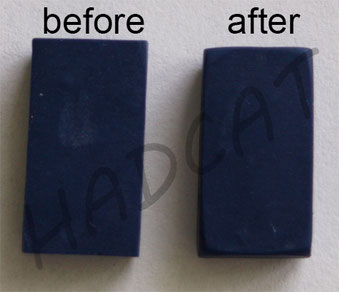
13. Glue the motif onto a rectangular bead. To do this, put a small bit of craft glue on the bead and press the motif on. Let the dry until the glue has hardened. To seal the motif, apply a large bit of craft glue onto it and spread it neatly over the oval shape. You can use some twisted kitchen roll paper to do this.
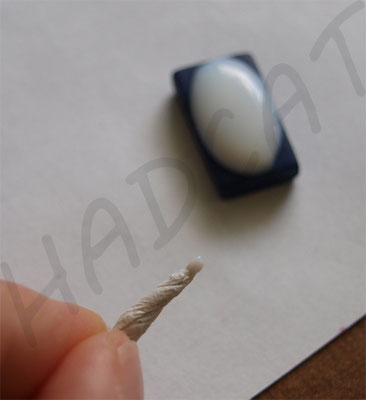
I used a nail art dotting brush to help me push down the motif and to get out the larger air bubbles.

14. Allow everything to dry. This can take about a day.
15. Alternately thread the round and rectangular beads onto the rubber bands and knot the ends.
Your bracelet is ready.
