instruction
bracelet and necklace colour gradient 01/04/2013
materials
- polymer clay: white, yellow, orange, red, blue, green, brown, black, purple
- leather strap and chain fasteners
tools
- pasta machine
- 1 cm x 2 cm oval cookie cutter
- fountain pen cap
- cling film
- four 0.4 cm chips or coins
- board/file
- hand drill with approx. 1 mm drill attachment
-
sandpaper
costs
- polymer clay 45 g = approx. €1.90
working time
-
5 hours
instruction
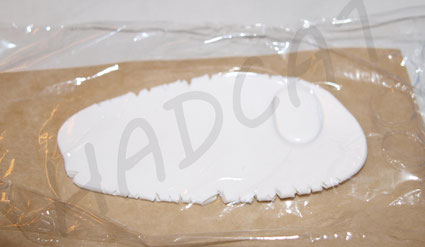
1. You take the different colours of polymer clay and roll them out on the thickest setting of the pasta machine. The plate should have a thickness of approx. 0.25 cm. Cut out the plates with the small oval cookie cutter. You can also use a 1 cm x 2 cm rectangular cutter.
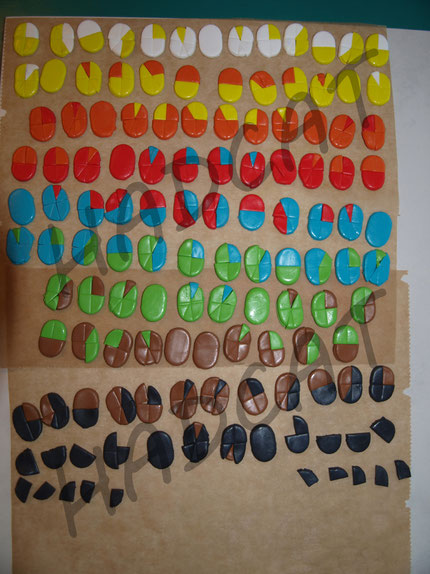
2. Divide the cut-out shapes into eight pieces and always join them with a piece of the following colour. Add one eighth piece at a time until the new colour is complete. Do this with all the colours. Remember that you always need two of the same mixture so that there is the same gradient on each side of the bracelet. For the white you only need one bead as it is in the middle of the gradient. Here you can see my finished colour mixes:
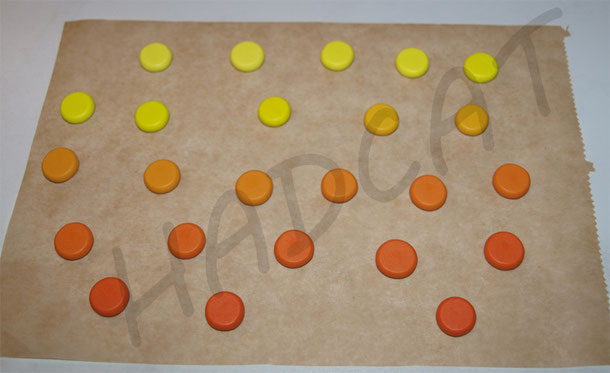
3. You mix the colours you have created and form small balls.

4. To ensure that all the beads are the same width at the end, place a 4 mm high chip or coin at the four corners of the baking tray. Put baking paper over them and flatten the beads with a tile.
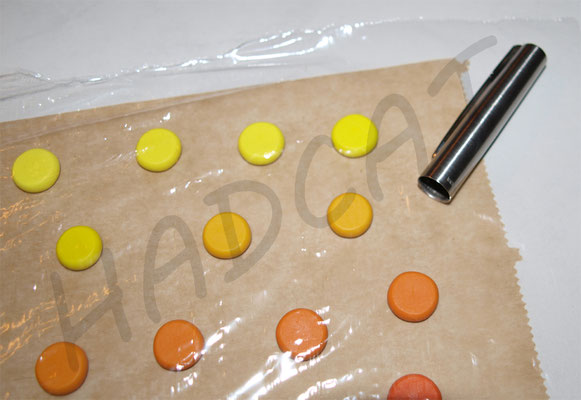
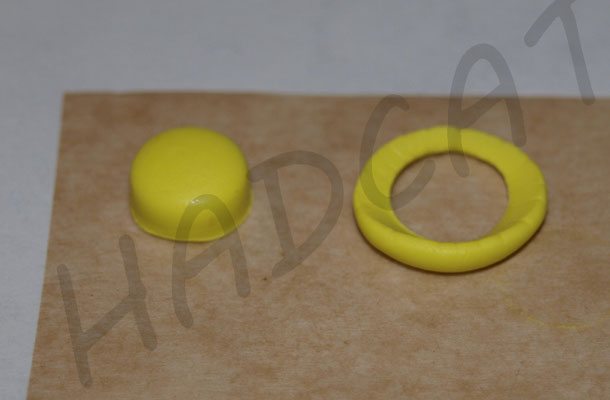
5. Now put cling film over it and cut out all the flattened beads with a fountain pen cap.
6. Bake this result according to the manufacturer's instructions:

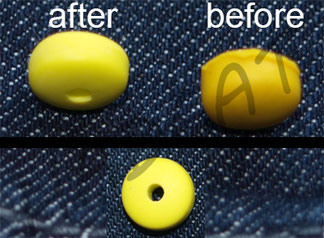
7. After baking, sand the beads a little with sandpaper and drill a hole them with a hand drill.
8. Here you can see a rough outline of my course:
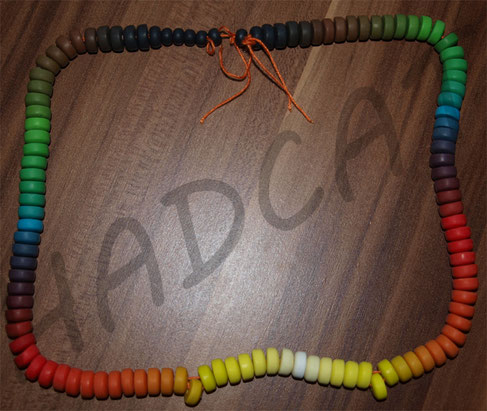
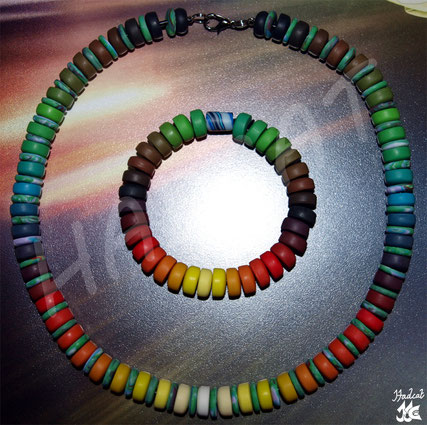
9. For the necklace, I cut out some green and purple beads on the medium setting of the pasta machine. Thread the beads onto a leather strap or similiar and attach chain fasteners to the ends.

Your bracelet is ready.