
instruction
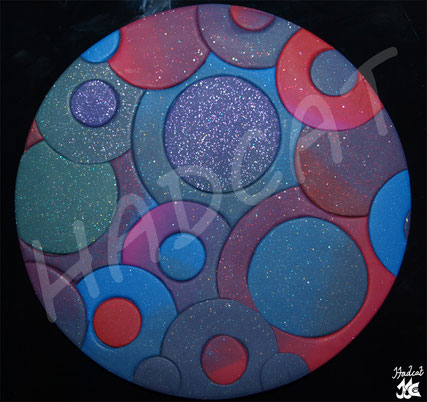
coaster 13/08/2013
materials
- polymer clay different colours: 57 g
tools
-
polymer clay knife
- acrylic rod
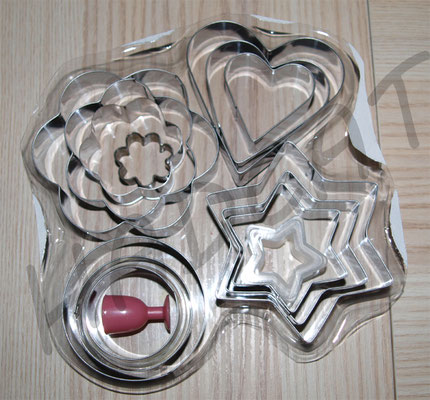
- different size cookie cutters
- round object e. g. porcelain bowl with a diameter of 11 cm
- cling film
- sandpaper grit: 400, 600, 800 and 2000
costs
- polymer clay 57 g = approx. €2.40
working time
-
1 1/2 hours
instruction
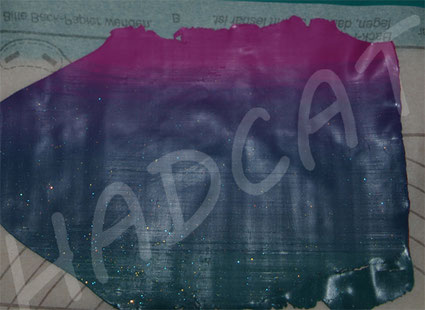
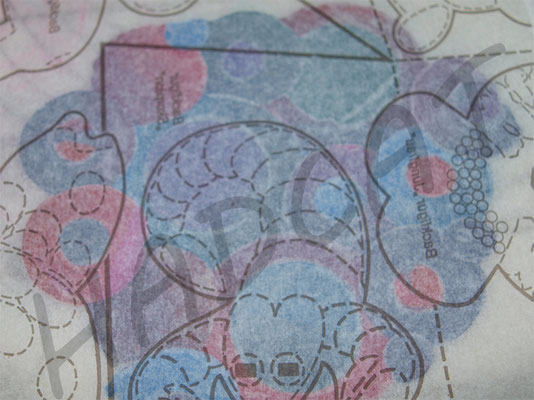
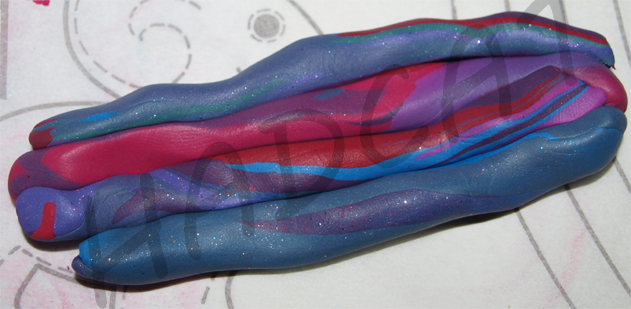
1. Create several colour gradients from the polymer clay on the thickest setting of the pasta machine.
2. Choose a variety of cookie cutters, e. g. circles. There should be at least three different sizes of a motif, e. g. three different sized circles. Use the chosen cutters to cut out patterns from the polymer clay gradients.

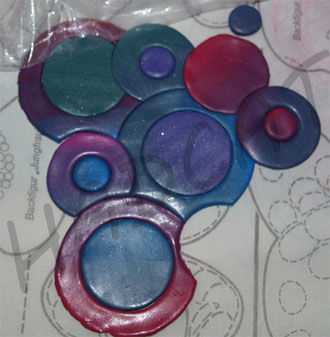
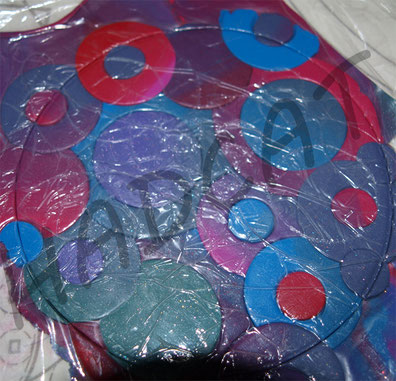
3. Mix the cut out parts. For example, cut out a smaller circle from a larger circle and place a small circle from another gradient in the gap. The join the individually created circles by placing them next to each other. Where they fit, cut out a part with a circle of the same size so that you can place the finished circle inside. Keep doing this until the whole thing is big enough to cut out as a coaster.
4. This is how the whole thing looks finished:

5. Put baking paper on top and turn the whole thing over. Carefully pull off the top baking paper. Now you have the back of the plate on top.

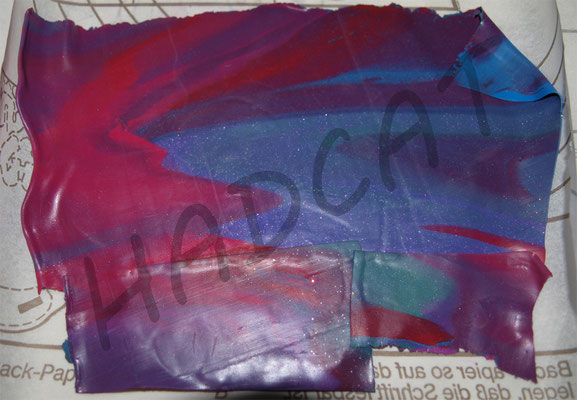
6. Take the unused gradients and mix them up. Create a plate from them on the thickest setting of the paste machine.
7. Place this plate on the back of the first plate. Place the baking paper on top and roll the acrylic rod lightly over it so that the plates join.
Then remove the baking paper again.
8. Place cling film on the finished plate. Find a suitable round object with a diameter of 11 cm. I used a small porcelain bowl. Try not to put too much pressure on the object, otherwise you will have a mark on the edges of the coaster later.
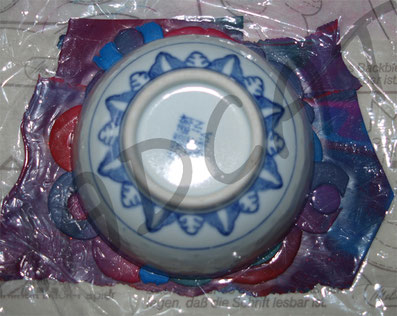
9. Cut the whole thing out with a polymer clay knife. Carefully cut along the edge of the object. Remove the scraps and cling film. Carefully correct the edge of the coaster with your fingers.
10. Bake the coaster according to the manufacturer's instructions. Then you can sand the edges with very fine sandpaper. Start with the roughest and
finish with the finest.
Your coaster is ready.
